Cyberpunk Session 14
Following on from the events of the previous session, Spooky informs Tremen that even with her best efforts she could only get a few more details. SHe was able to reconnect to the Hilton's security system and ascertained the following:

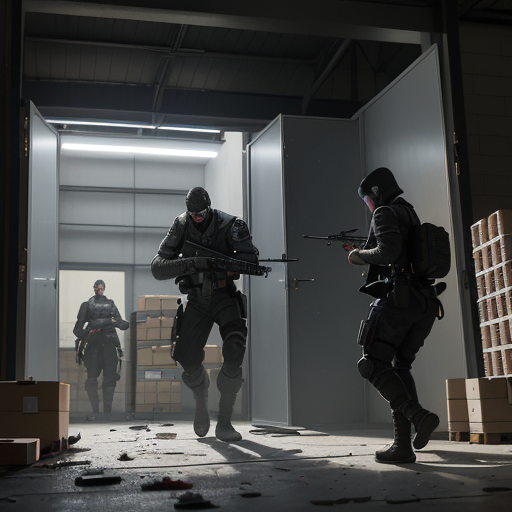
The computer claims this is an image of Mr. Smith
but who can know if it actually captured a proper image...
- Room 205 was in the name of a
Mr. Smith
- An attempt to find security footage of this Mr. Smith shows a man walking from the lobby to the room
- There is no indication that he left through the front door
- From the security cameras the room is empty and looks unused, the only unusual aspect is the open window to the balcony
- Whenever Tremen tries to look at the face of
Mr. Smith
his eyes are always drawn away from it as if Tremen's body was trying to reject seeing it
Just as Spooky finishes showing Tremen the security footage there is a scream from the main room of the Warehouse - it is at this point when (as prevously recorded) Nameraka's arm slipped onto the black mirror. He immediately collapses and his left arm is missing as if sliced off by a very sharp knife. There is a pool of rust coloured melted ice on the floor between him and the black mirror.
Wakiya and Tharbin go to assist Nameraka (Tharbin leaving the small office) with Tharbin managing to stabilise Nameraka to at least the point where Nameraka isn't going to die. It's apparent that Nameraka's arm has been subjected to extreme cold (at least as cold as dry ice or, more likely, liquid nitrogen levels of extreme cold).
Tremen concludes that the Hilton needs to visit as soon as possible and he and Spooky borrow a car from the forensics team and head straight there.

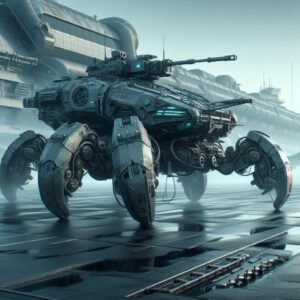
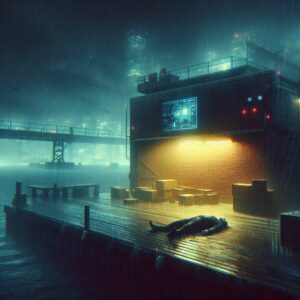
The suspicious tanker truck
Just as Spooky finishes showing Trem
Meanwhile outside Shadow continues examines the trucks. One of them is a tanker and tapping the side of the tanker with a metal pole discovers that lower portion of the tanker does not contain same as the top half of the tanker. Opening the hatches at the top reveals that the top half is indeed fuel. Careful examination of the pipes and valves of the bottom of the tanker reveals that one of the valves is connected to the bottom half of the tanker. With the help of Ricky this vale is cranked open with some difficulty. Once open a viscous liquid comes out, splashing them both.
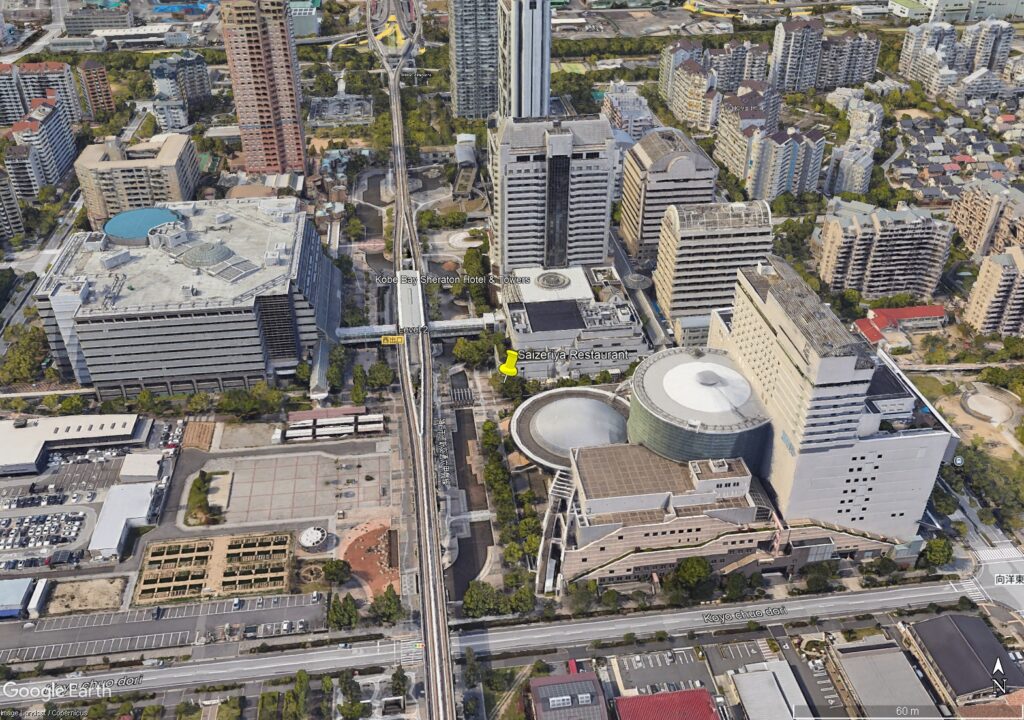
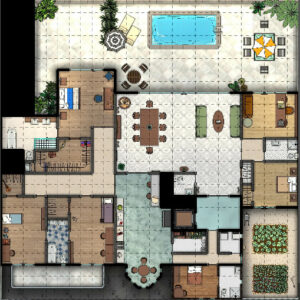
Tremen and Spooky arrive at the Hilton and, with the help of the manager check out the contents of Room 205. It's just a normal hotel room, but there is a slight scuff mark on the railing of the balcony. The balcony looks out over a park (so there won't be any CCTV that will get a good view of the balcony). Checking the adjacent rooms (particularly those above and below) doesn't reveal anything else unusual and even checking the AV landing pad on the roof only reveals that the only flights were the normal airport shuttle runs.
The rest of the team, after getting Nameraka rushed to hospital maneuver the mirror back into its crate and then the crate into our van.
We all then head back to base1 where we notice Lady Kitsune's department of the crate. One of her associates (who probably has a full body prosthetic) examines it. He is seen (by Shadow) to slap a piece of paper on the crate, but when his hand lifts from the spot there is no such piece of paper.
Tremen makes an in-person report to Lady Kitsune's department.
Two days later
Nameraka rejoins us - his arm has been replaced with a cybernetic arm and hand.
Research has revealed the following:
- The substance in the tanker is blood, but not human nor of any known animal
- The ash of the
Zombie
is just the pulped remains of a human and does not have the remains of any cyberware - The adversion effect of the footage of
Mr. Smith
applies to any member of team (i.e. none of us can concentrate on his face. Interestingly this effect applies even to the still images from the security footage). However we do all agree on his clothing and general appearance
One of Lady Kitsune's associates delivers a manila envelope containing real paper and explains that Lady Kitsune wants us to investigate. The paper gives us an address of a farm and notes that by tracing the tanker movements via street cameras etc. this farm was the most recently (if 20 days ago) location which the tanker visited.

Suspiciously mutant cows at Inagawa Kokusai Farm
The farm, Inagawa Kokusai Farm, is a beef cattle ranch run by AI and owned by the agri-business CoAg.
We head out to the farm. From the road we see nothing unusual and it is obviously run by an AI. We are let in. There are two main building and several grain silos. The buildings are a bunkhouse (used by maintenance personnel and the evidence is that it was last used 10-15 days ago) and a machine room holding equipment and supplies for repairs.
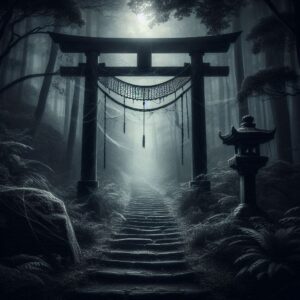
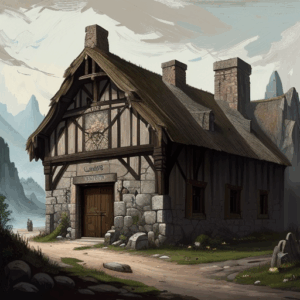
The Torii gate straddling the crumbling path
Nameraka climbs one of the silo and spots a set of steps heading up into the woods behind the farm. We all head up these crumbling, but recently used, steps which lead to a Torii.
Footnotes
- This includes getting the tanker back to base ↩